Modeling Bishop

Begin by creating a new database, name it bishop.g.
Using the same commands for the base:
in base.rcc rcc 0 0 0 0 0 0.7 2.25 ENTER
in body.trc trc 0 0 0.7 0 0 2.2 2.25 0.85 ENTER
in curve.tor tor 0 0 2.9 0 0 1 3.2 2.4 ENTER
in neck.rcc rcc 0 0 2.9 0 0 0.5 1.4 ENTER
Now, coming to the head of the bishop, you will use two shapes for it,
sph and trc.
The sphere starts from the base of neck.rcc, therefore the vertex of
this sphere equals to vertex of neck.rcc + radius of the sphere i.e.,
2.9 + 1.1 = 4. Type:
in head.sph sph 0 0 4.0 1.1 ENTER
The top has vertex 0 0 4.4, where 4.4 = z value vertex of
head.sph (4.0) + (0.4)
in headtop.trc trc 0 0 4.4 0 0 1.2 1 0.25 ENTER
Since you have got all the shapes, you have an output like this in the Front view:
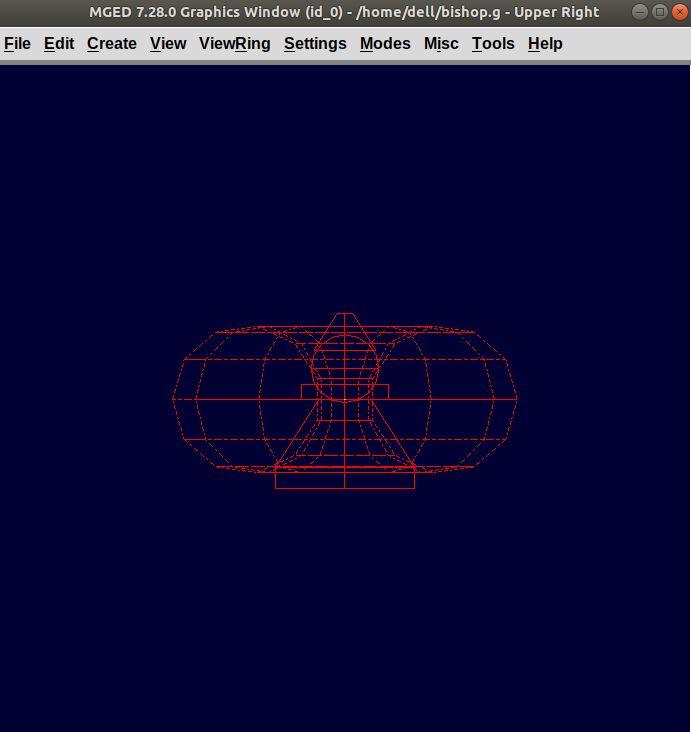
Make the region:
r bishop.r u base.rcc u body.trc - curve.tor u neck.rcc u
head.sph u headtop.trc
ENTER
Assign material properties:
mater bishop.r plastic 0 0 0 0 ENTER
Before you Raytrace, don’t forget to blast your region using the command
B bishop.r ENTER
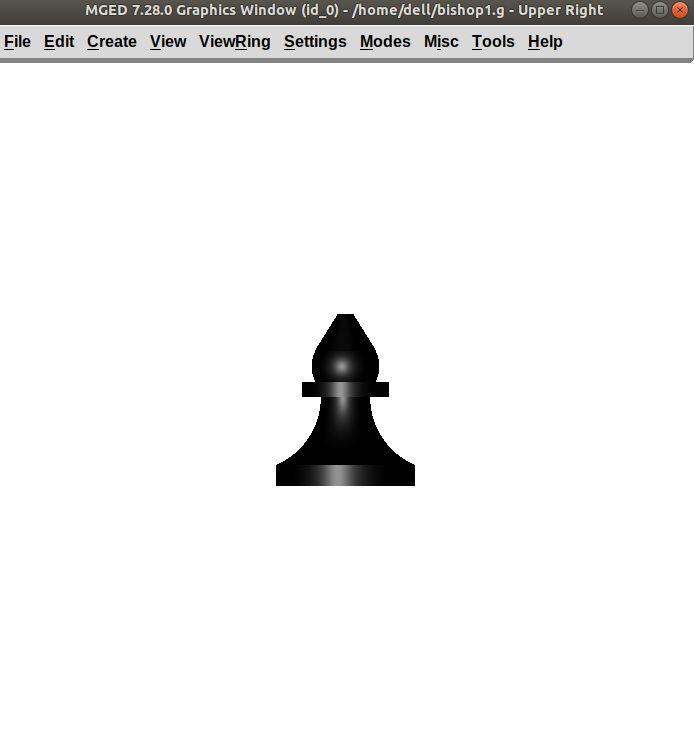
Now Raytrace it with a white background. The front view after we raytracing looks like this: