Modeling King

Now it’s time to model the king. It is comparatively easier than the above pieces. To begin modeling, create a new database, type in the command prompt:
opendb king.r ENTER
You have your Command and Graphics ready after confirming in the dialog box.
If you look at all the chess pieces, you see that the base and body of almost all the pieces are the same and they only differ in the head area. To make the base and the body, type in:
in base.rcc rcc 0 0 0 0 0 0.7 2.25 ENTER
in body.trc trc 0 0 0.7 0 0 2.2 2.25 0.85 ENTER
in curve.tor tor 0 0 2.9 0 0 1 3.2 2.4 ENTER
To make a cylinder for the neck, type:
in neck.rcc rcc 0 0 2.9 0 0 0.5 1.4 ENTER
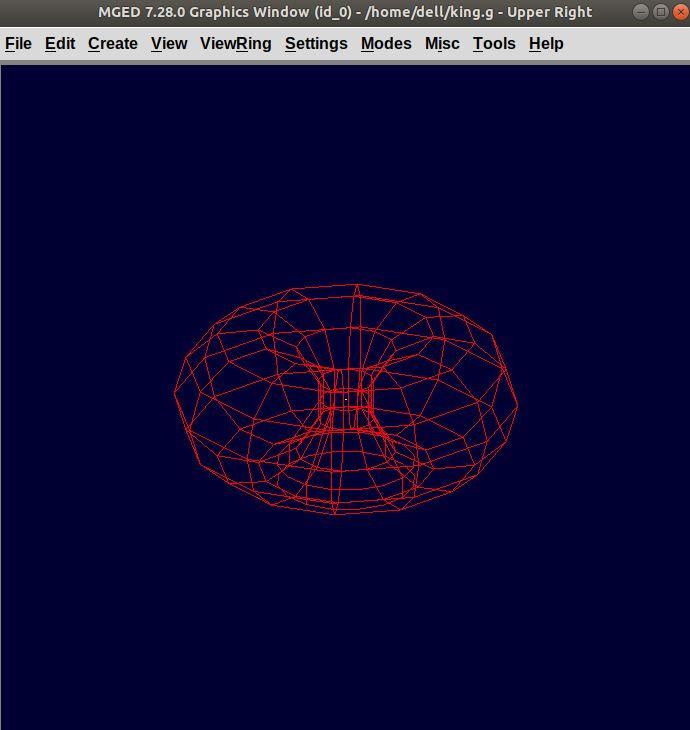
As described in the above pieces, the shape neck.rcc must be placed
at the top of body.trc. Once we have made the base, body, and curve
we get something like this:
When we look closely at the end product, the head can be divided into three parts, the head bottom, the middle section, and the tiny top section. All of these are trc. To make the bottom part of the head, type:
in headbottom.trc trc 0 0 3.4 0 0 1.5 0.8 1.4 ENTER
Here the base radius of the headbottom.trc is equal to the top
radius of body.trc.
Since the top radius of headbottom.trc should be equal to the base
radius of the headmid.trc. Therefore, to make the mid part, type:
in headmid.trc trc 0 0 4.9 0 0 0.3 1.4 1.1 ENTER
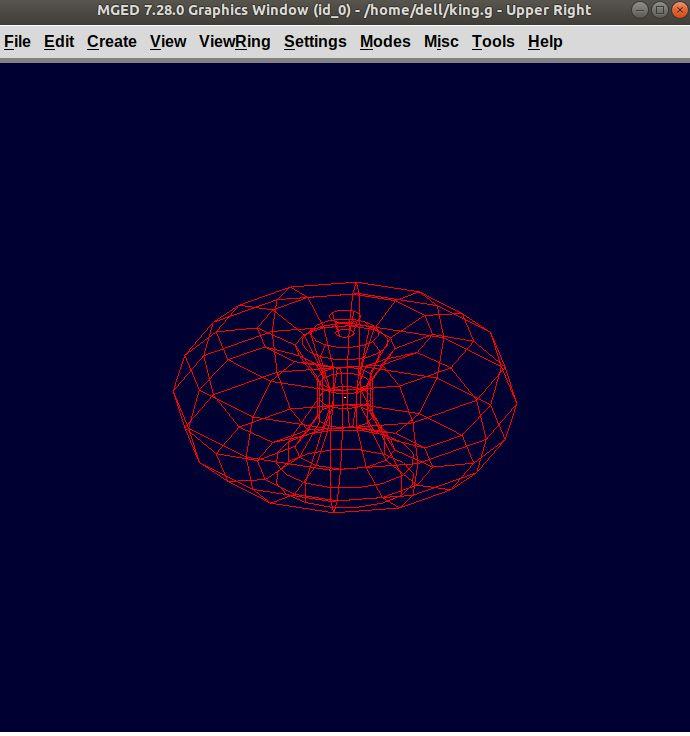
Now to make the top part this head, type:
in headtop.trc trc 0 0 5.2 0 0 0.6 0.3 0.5 ENTER
After this, your Graphics Window looks like:
You have all your shapes now. It is time to make a region of it:
r king.r u base.rcc u body.trc - curve.tor u neck.rcc u
headbottom.trc u headmid.trc u headtop.trc
ENTER
Now, assign material properties using the following command:
mater king.r plastic 0 0 0 0 ENTER
Before raytracing, use the blast command as follow:
B king.r ENTER
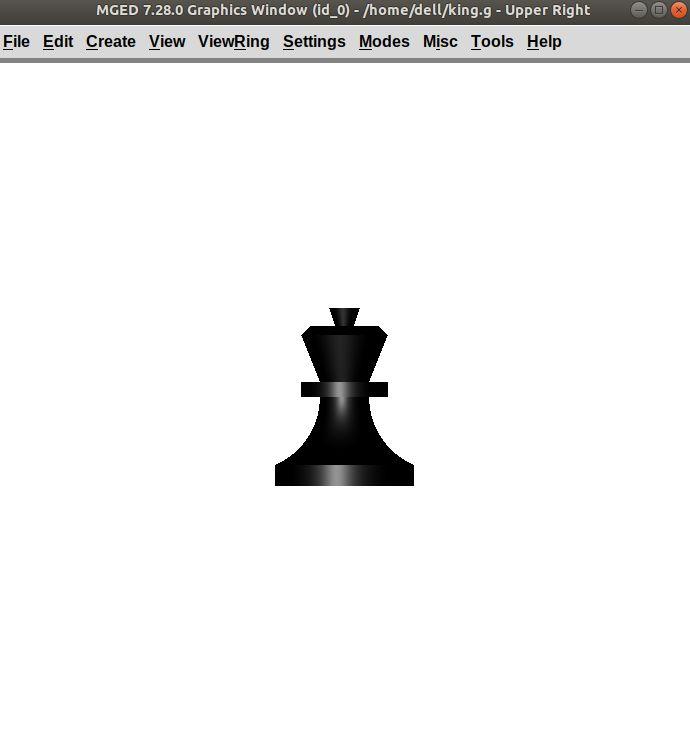
To achieve the target design, change the view to Front from the View menu. Now raytrace your design from the File menu.