Blender to CAD
-
Open Blender
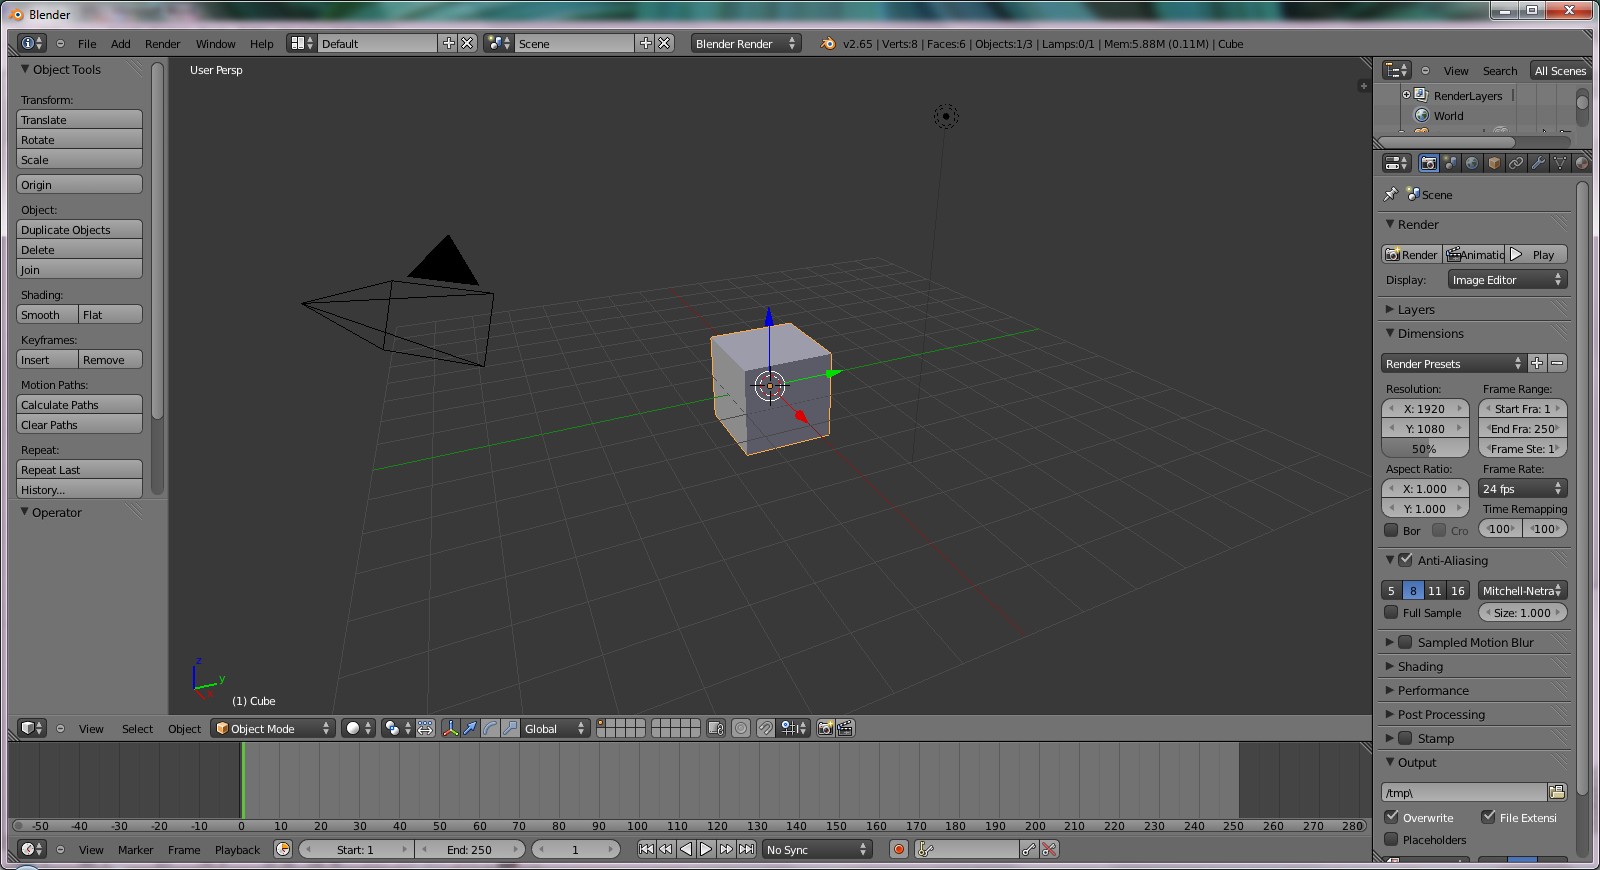
-
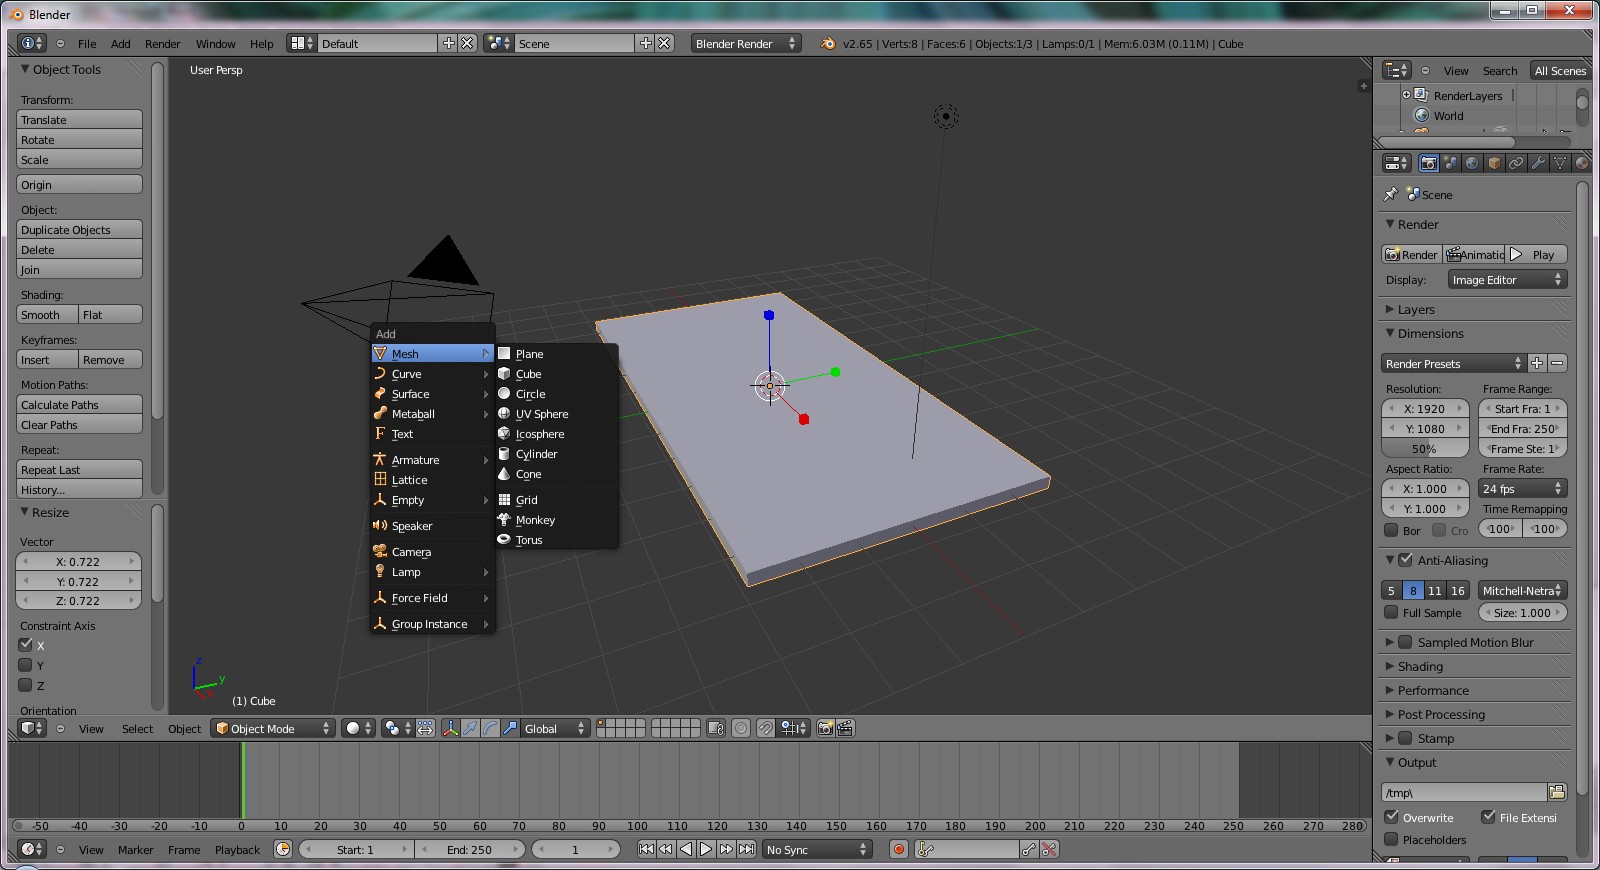
Use the scale manipulator to flatten and expand the cube so it looks like a tabletop.
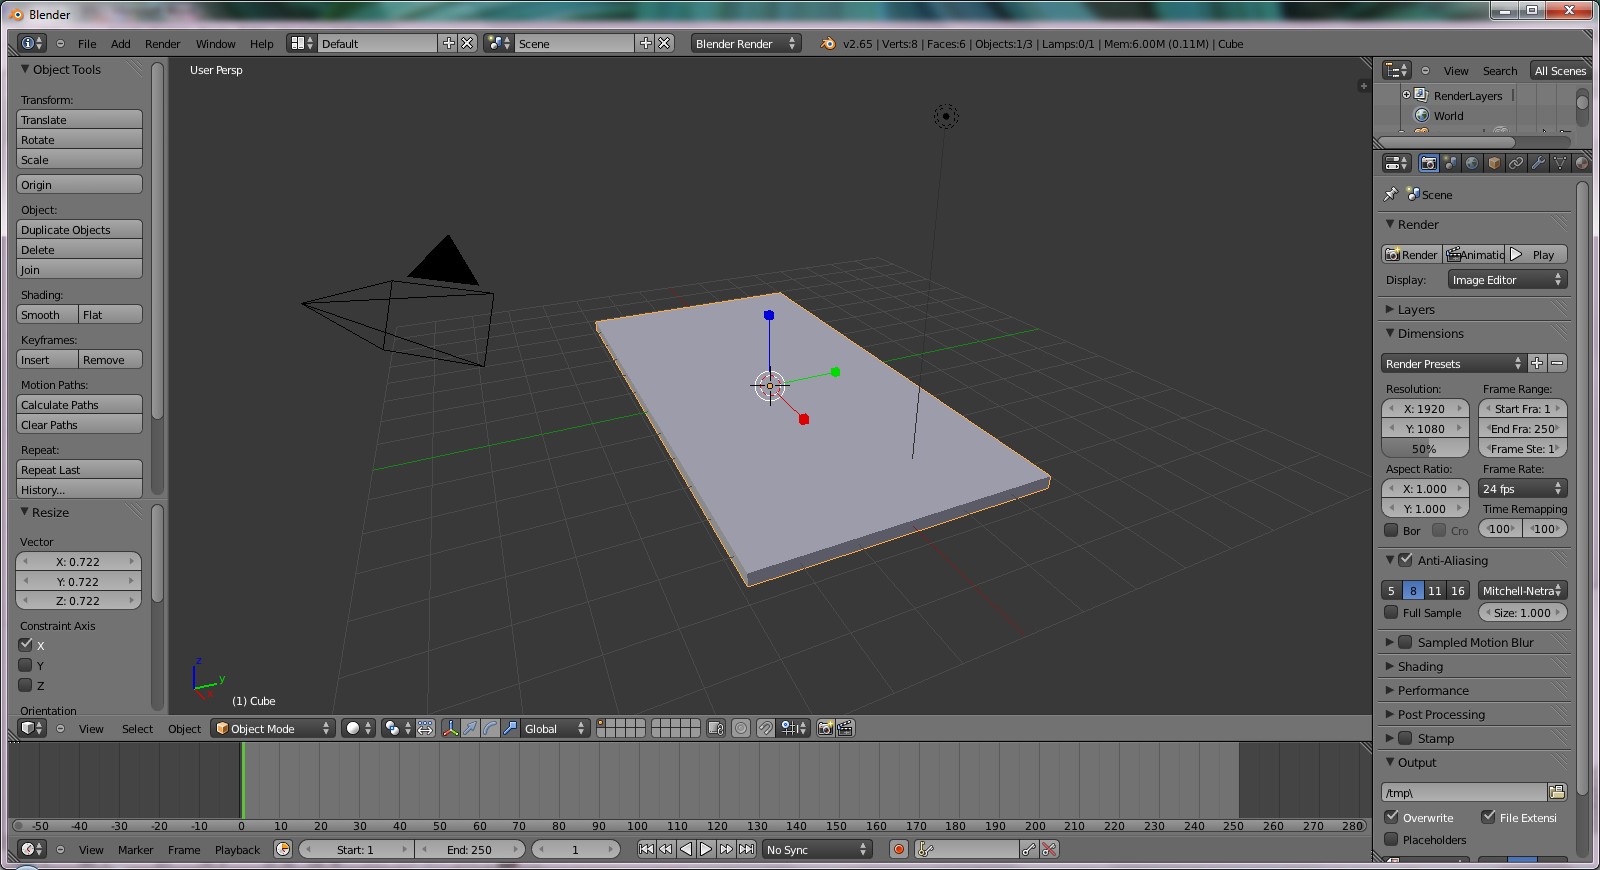
-
Go to the Add menu or use the shortcut Shift+A. Add a cube.
-
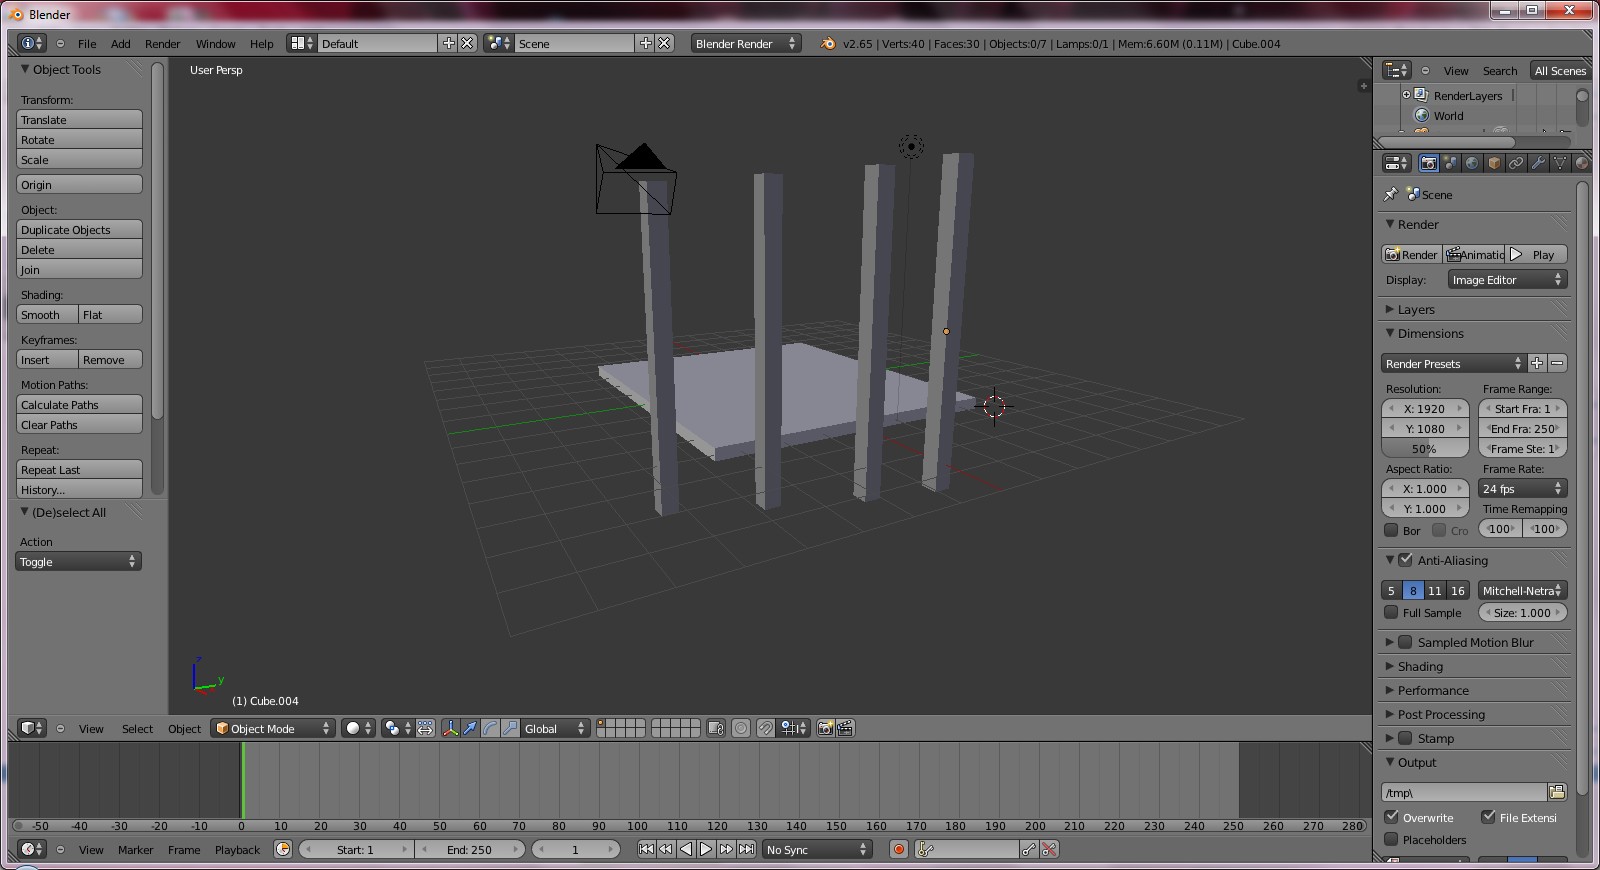
Use the scale manipulator to expand and flatten this cube so it looks like a table leg. Then duplicate this table leg 3 times.
-
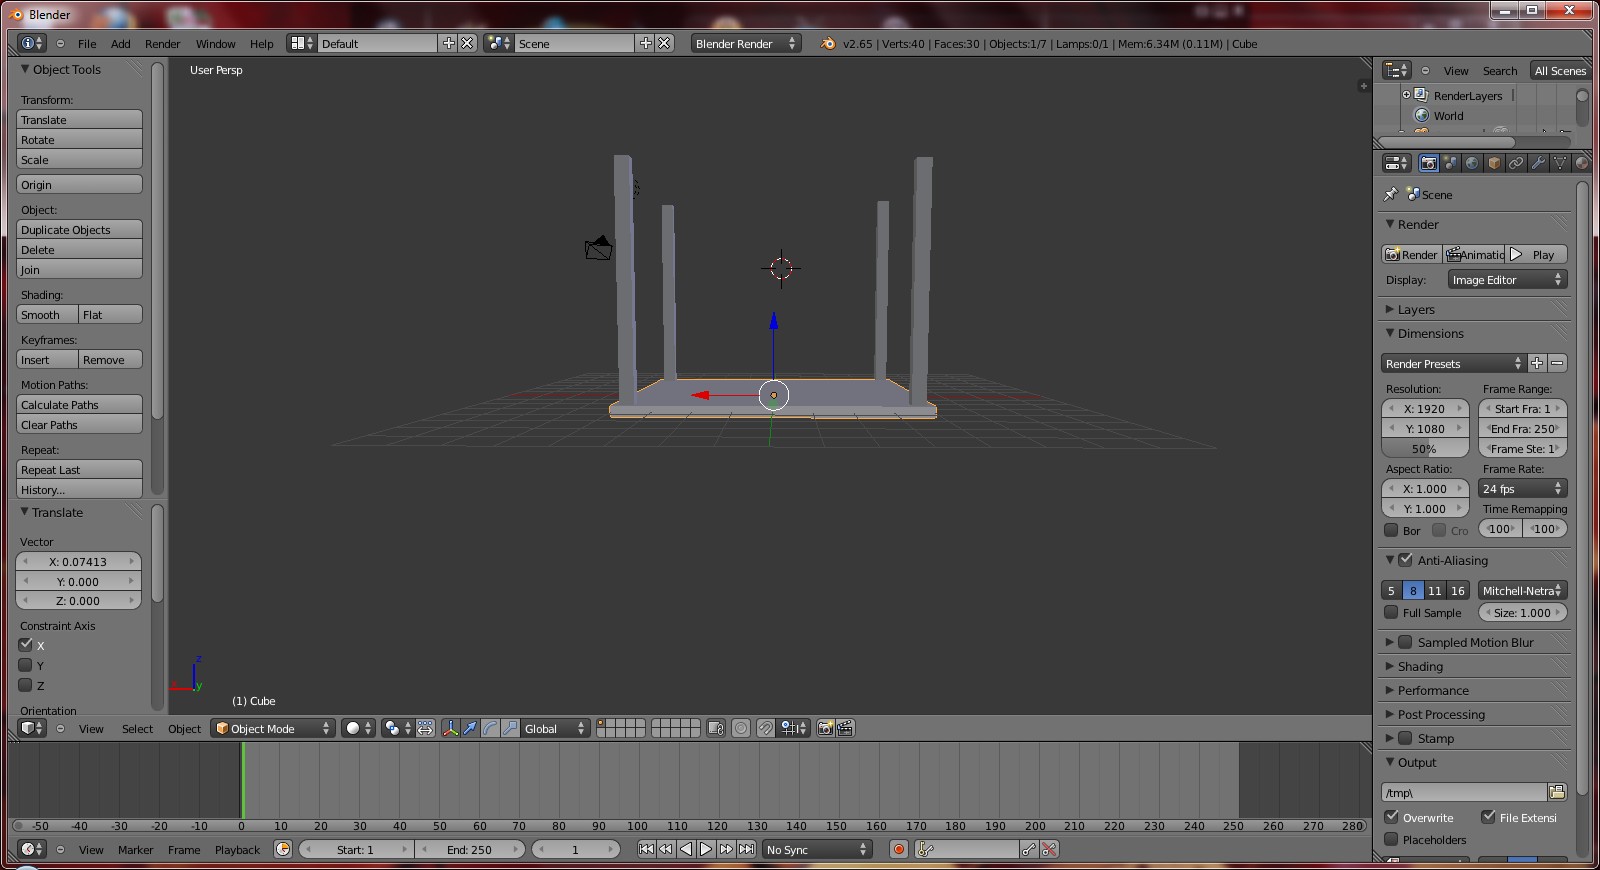
Move the legs of the table so it represents a table.
-
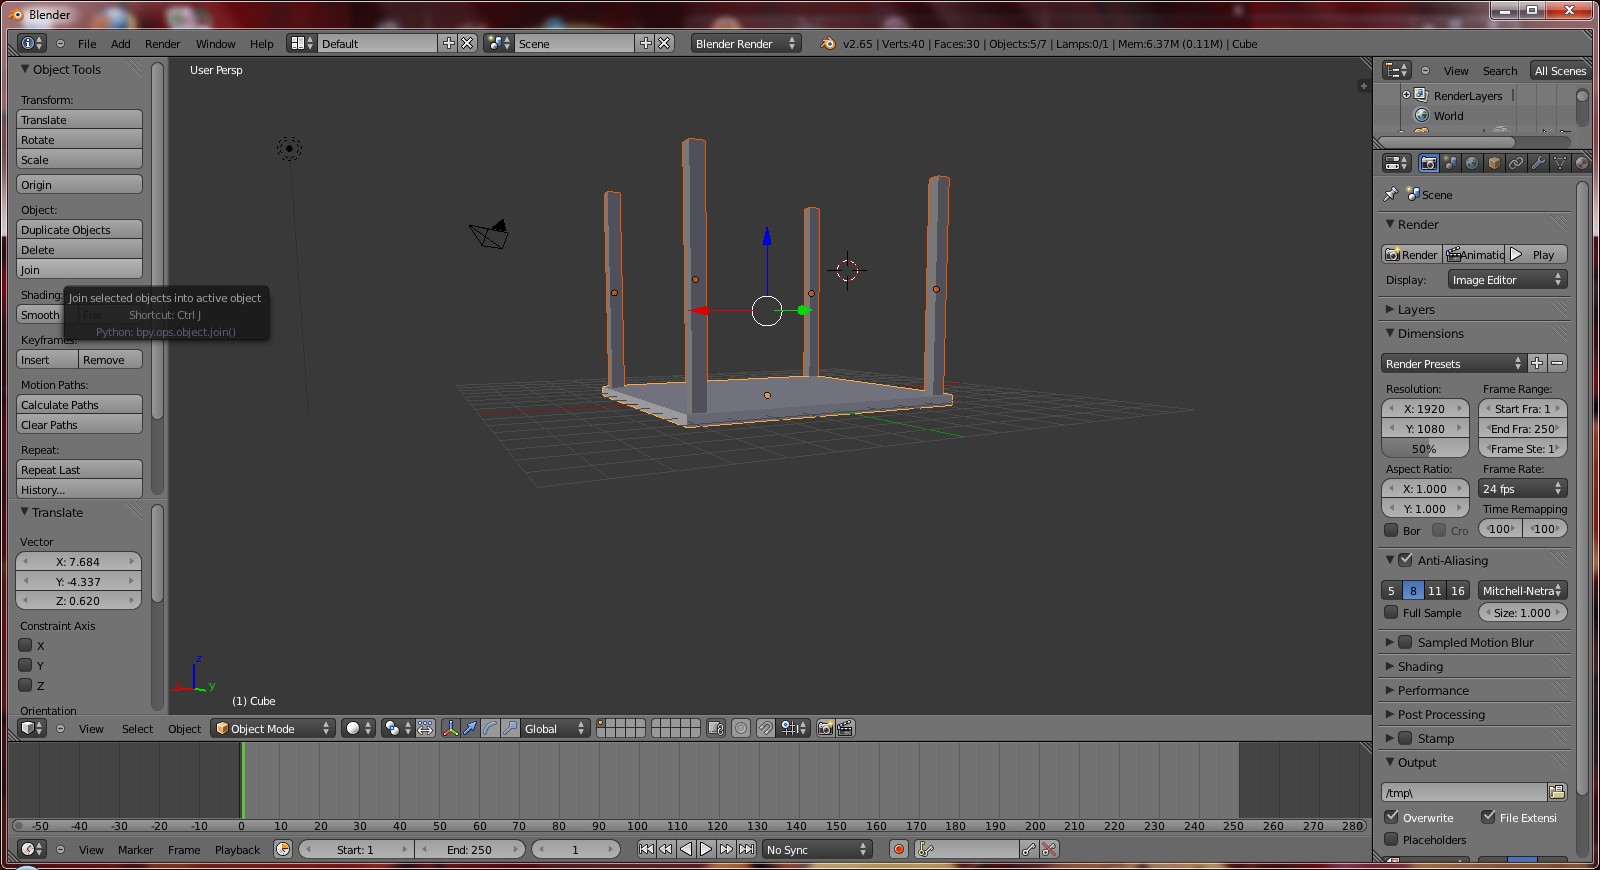
Select all the legs and the tabletop, and then click joins on the left side of the window under Object.
-
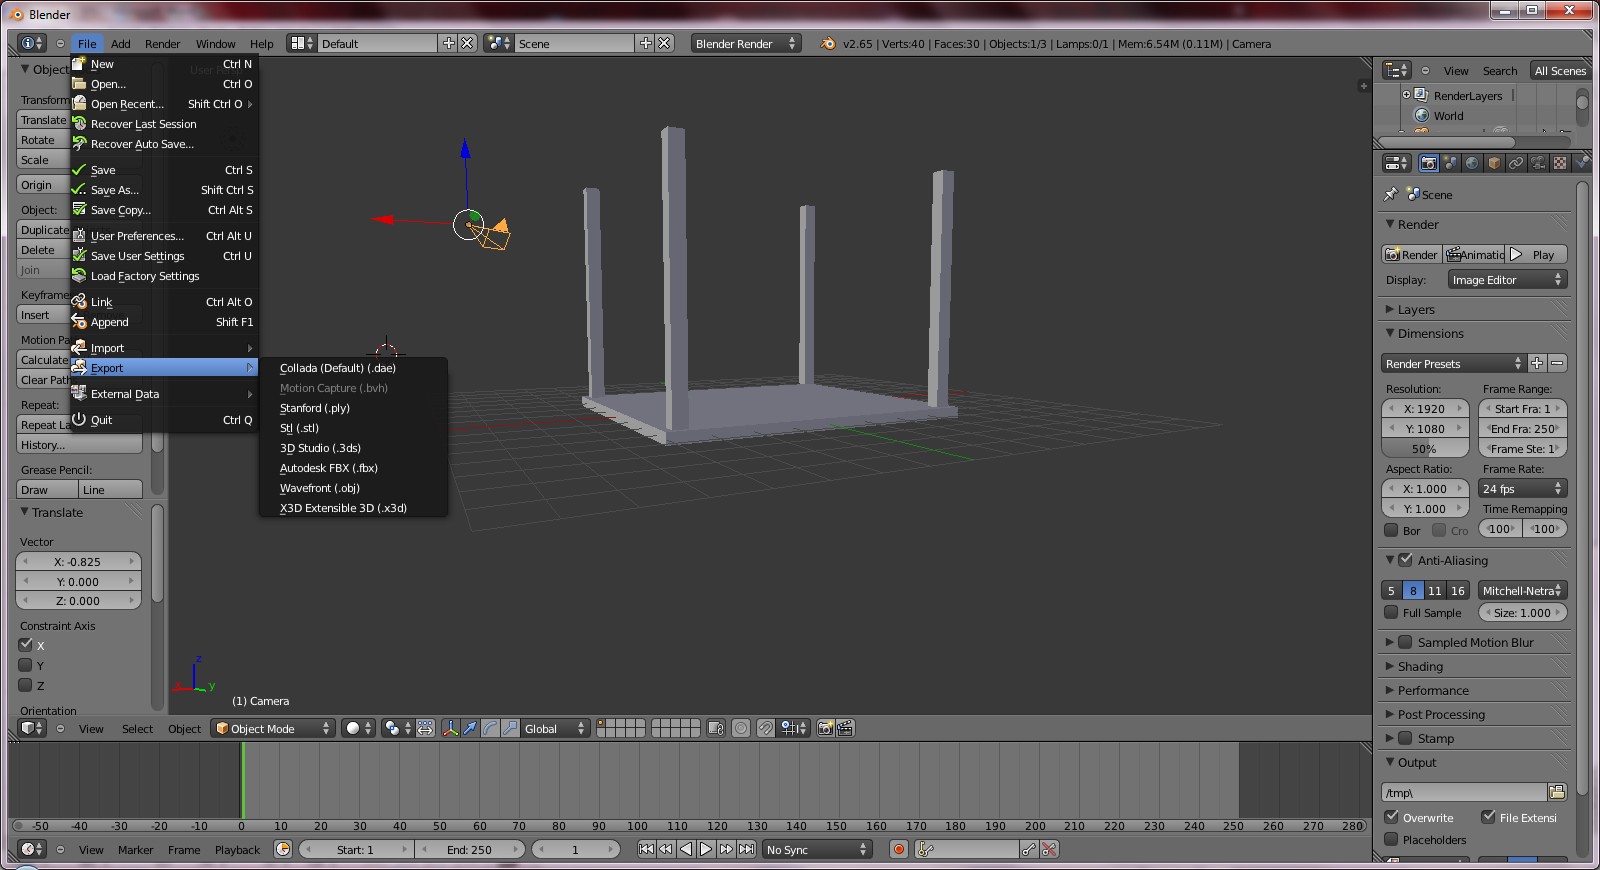
Go to File on the top left corner and select export. Under the export select obj.
-
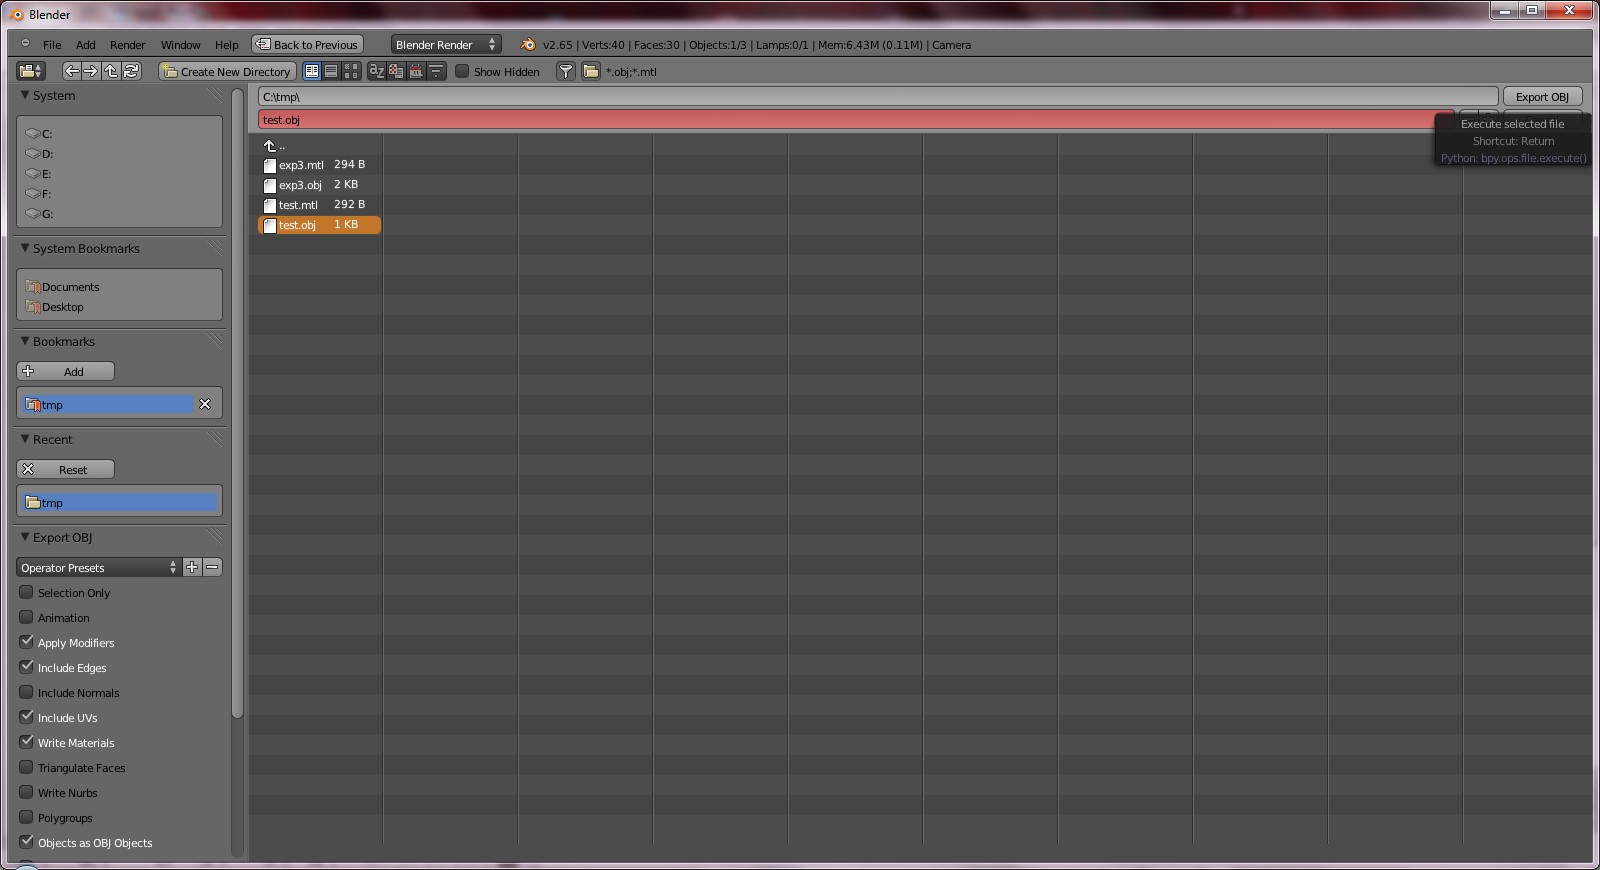
You will get an export window. Name your file test (optional).
-
Once you have named your file click on the Export OBJ button, which can be found in the top right corner, to export your blender file.
-
Go to the BRL-CAD bin directory and give the command to turn you obj file into a .g file. This command exports the obj-formatted file to a .g file. The syntax of the obj-g command is
>obj-g input.obj output.g
Don’t forget to enter a path for your files. To see all the uses of the obj-g command just enter “obj-g.”
-
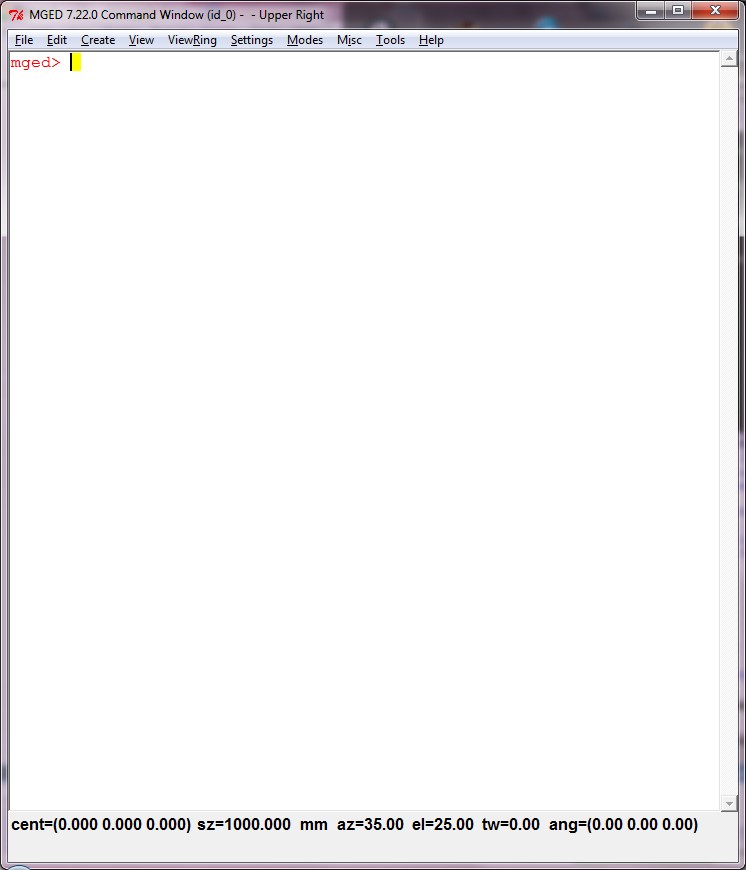
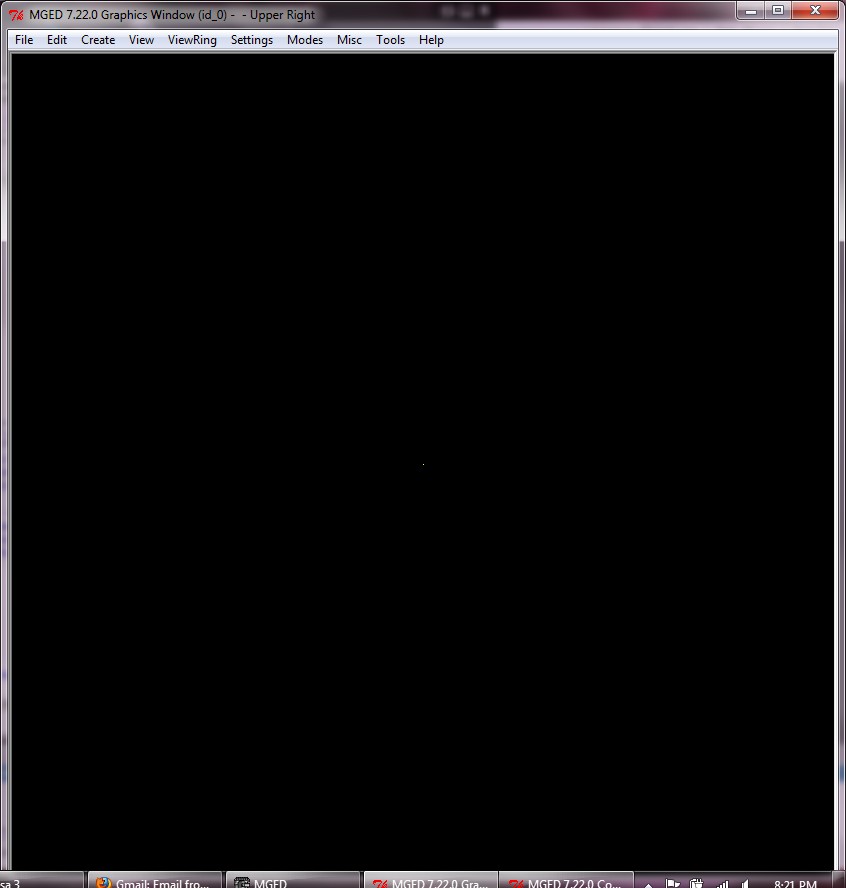
Open mged. You will see two windows, a command window that is white and a graphics window that is black.
-
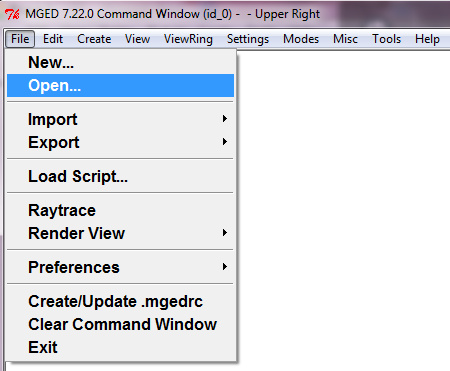
Select File and click open. Open you .g file that you just made.
-
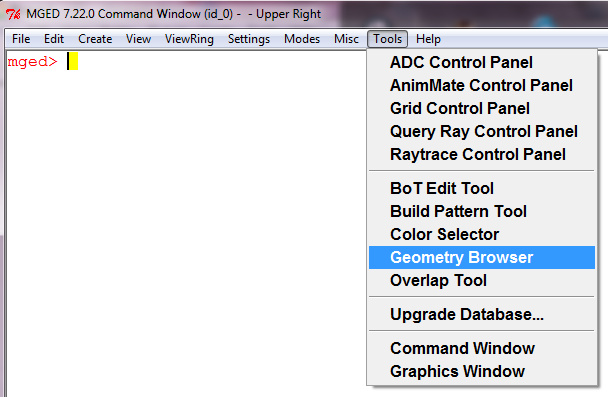
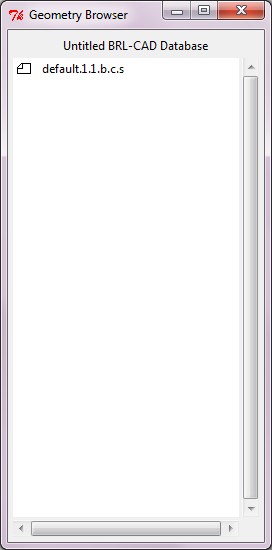
Then click on Tools. Open Geometry Browser under tools. Double click on the top object to display it.
-
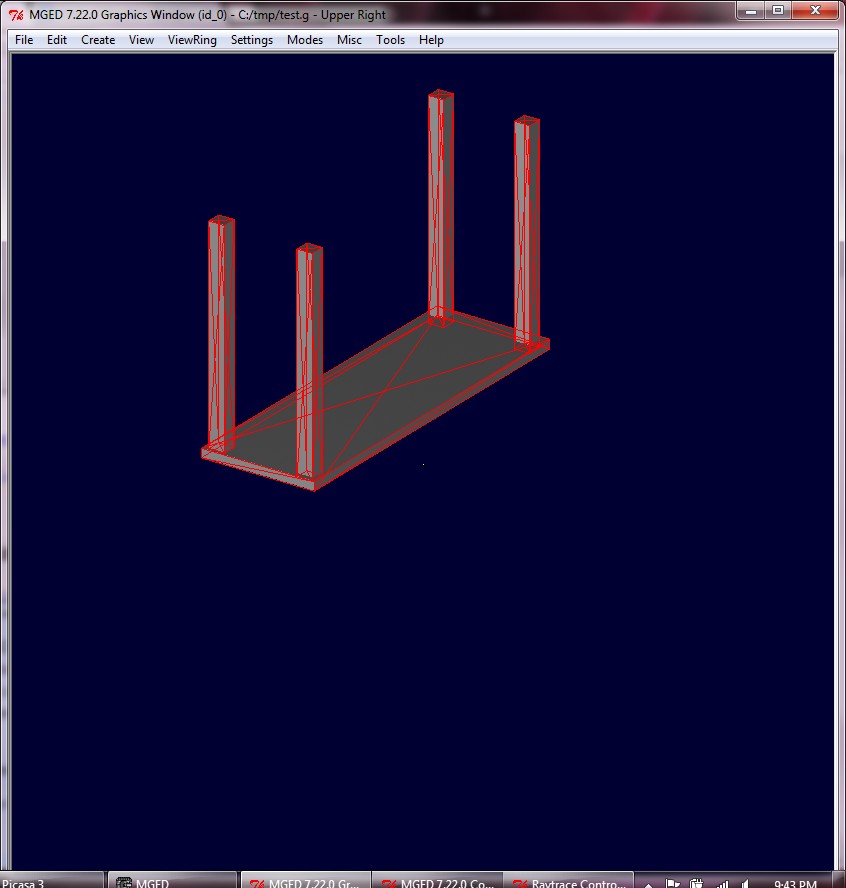
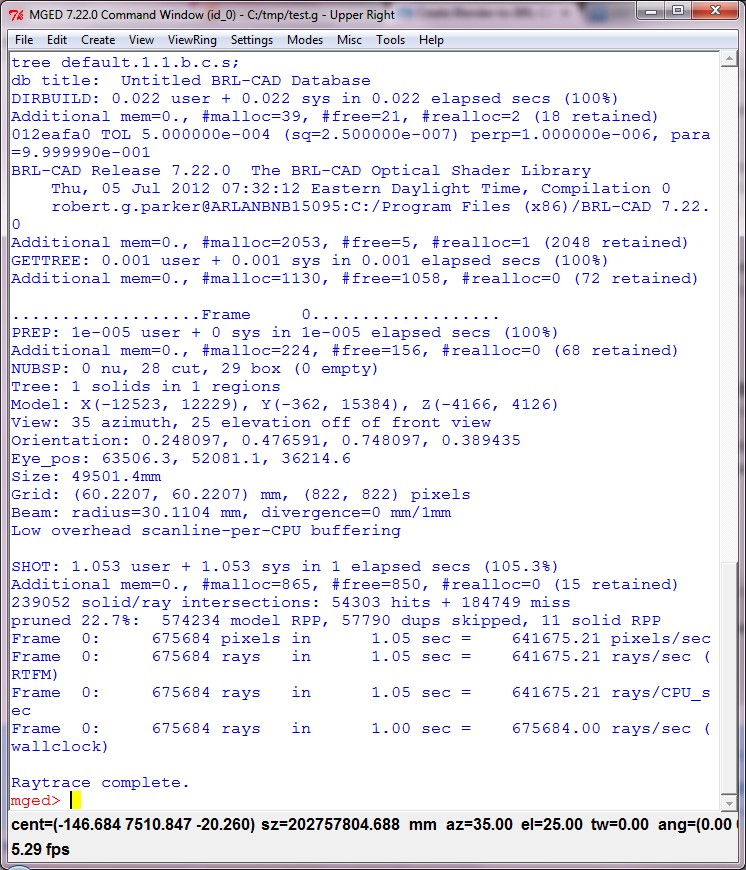
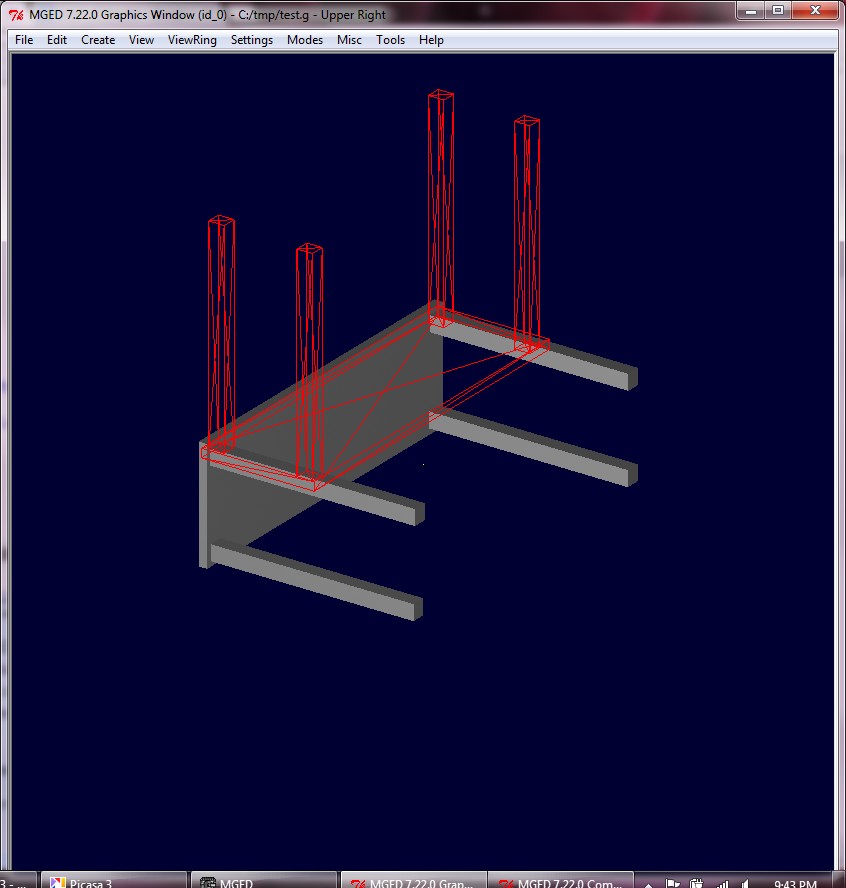
Click on View. Select “az35,el25” image::MGED_7.22.0_Command_Window_Step_14.jpg[]
-
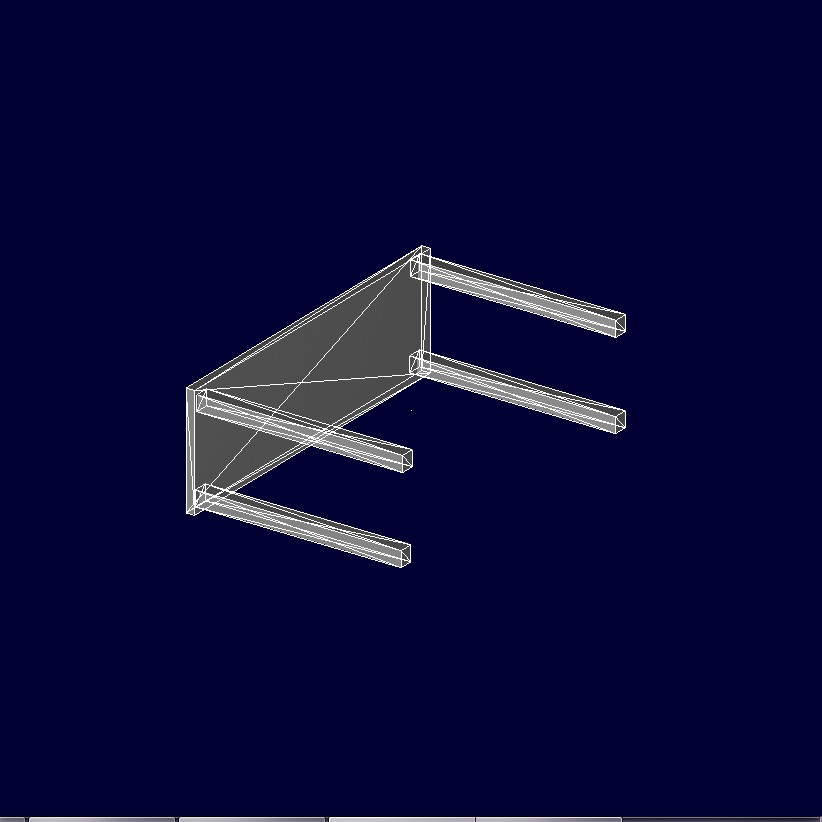
Click on Tools once again. Select the Raytrace Control Panel. Hit the raytrace button.
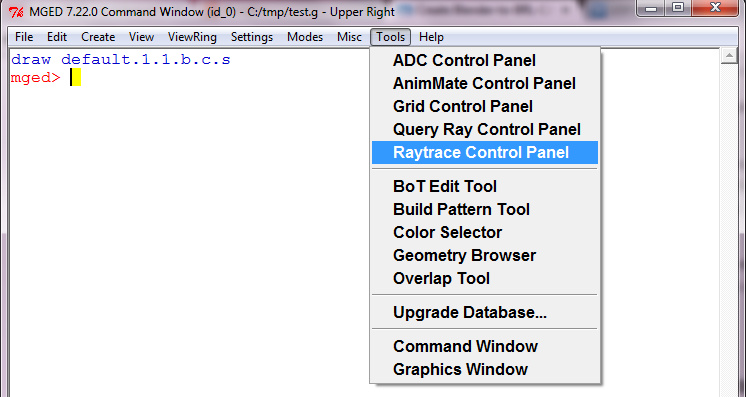
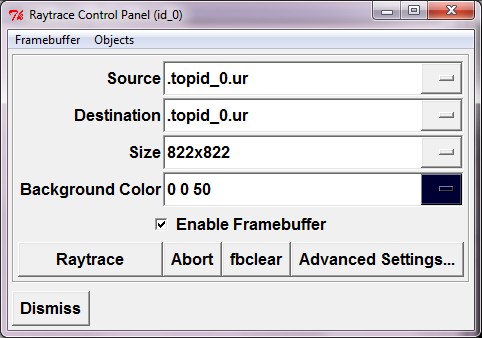
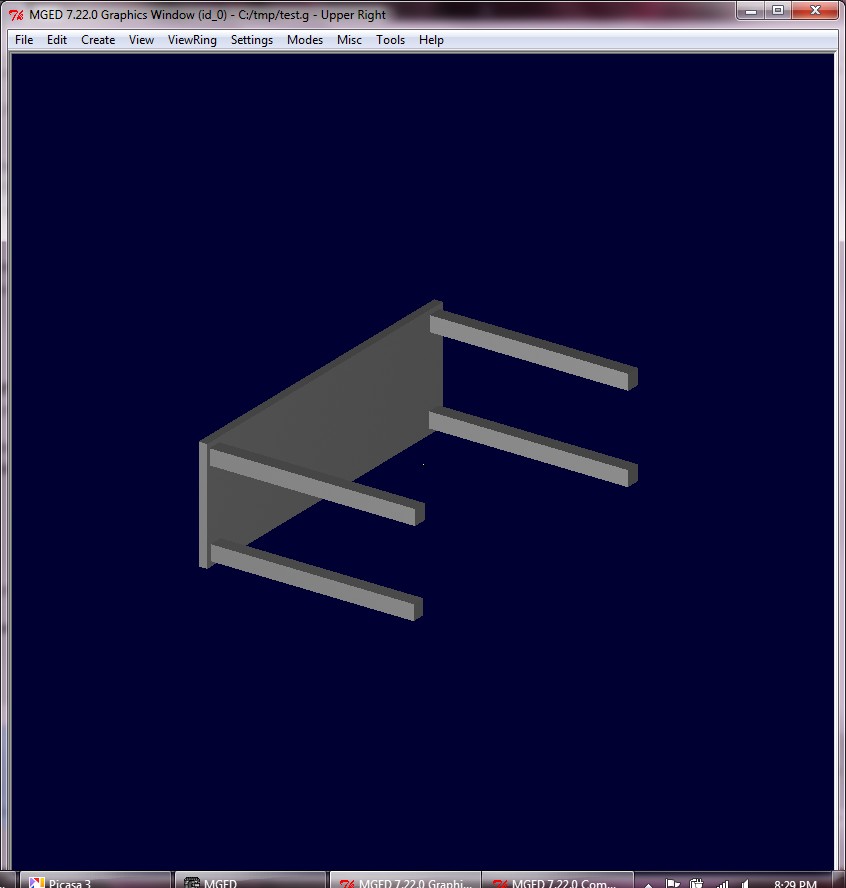
Once you have Raytraced, you should have an image the looks like this:
-
Do you remember what the table looked like when we were done with it in Blender? It was upside down and now it’s on its side. Rotating the table reorients it correct way. To reorient your table the right way, enter these commands in the command window:
sed default.1.1.b.c.s
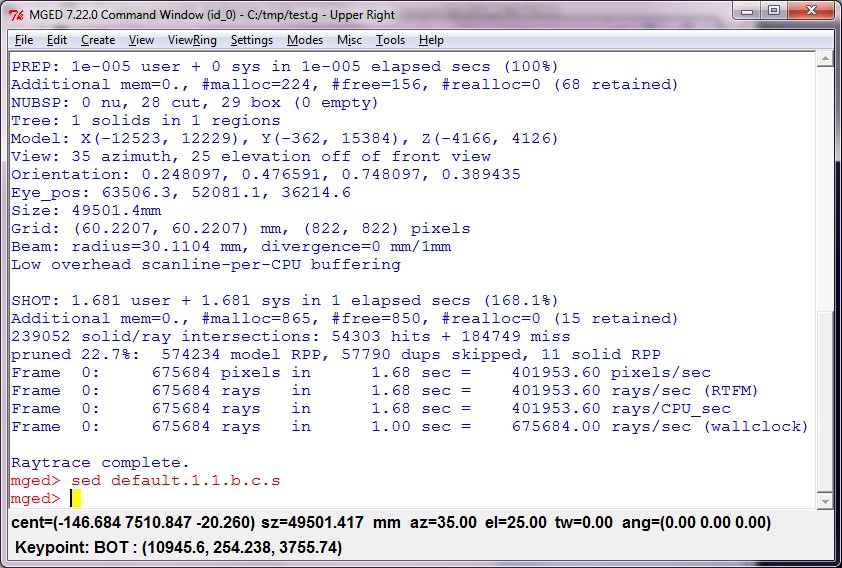
rot –90 0 0
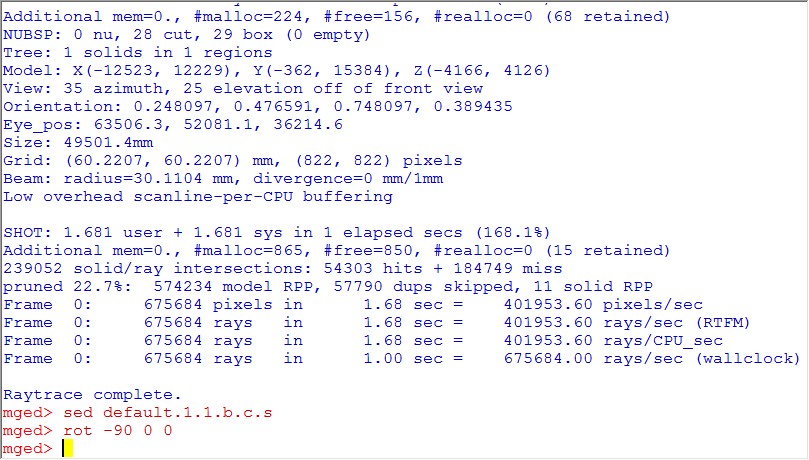
accept
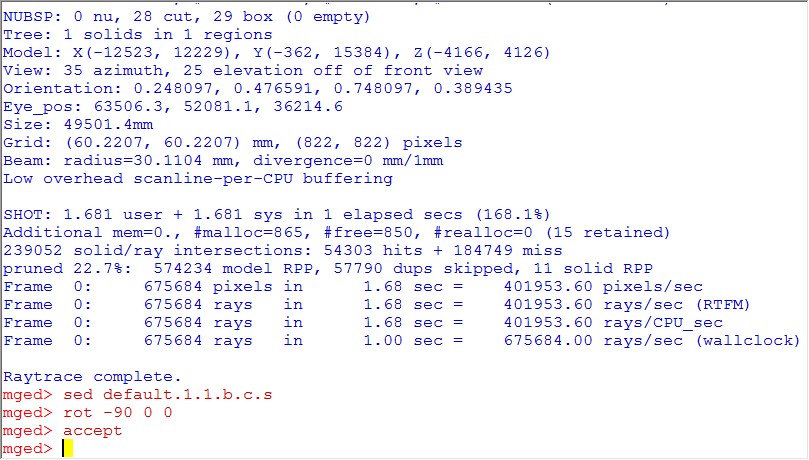
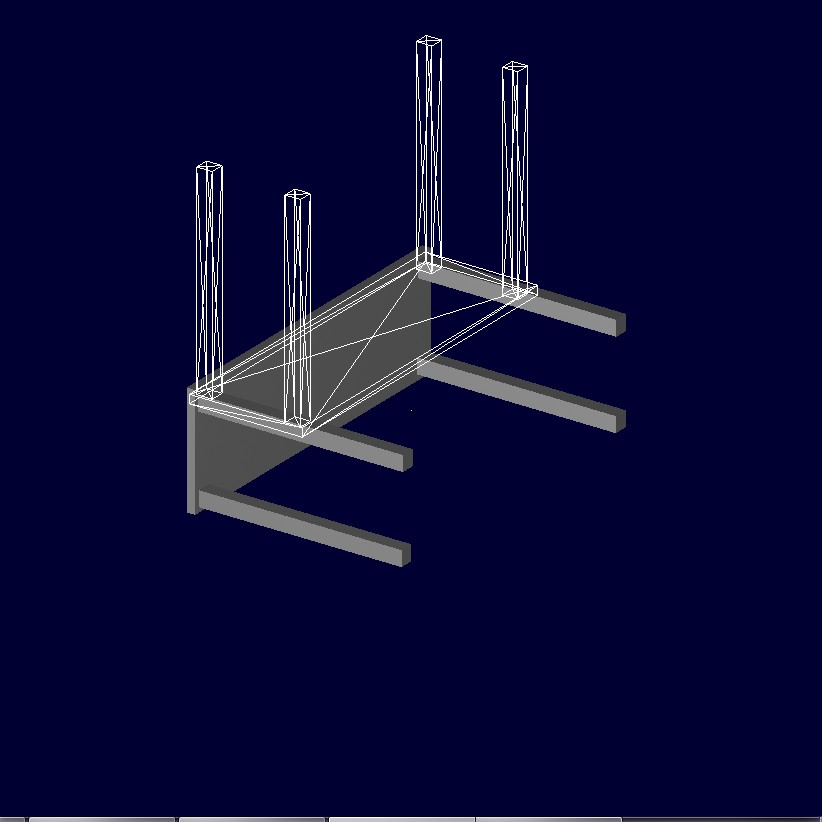
Then Raytrace the table once again by going to the Tools menu.
With that final rendering your import is complete!