Modeling the Chess Set
1. Chessboard
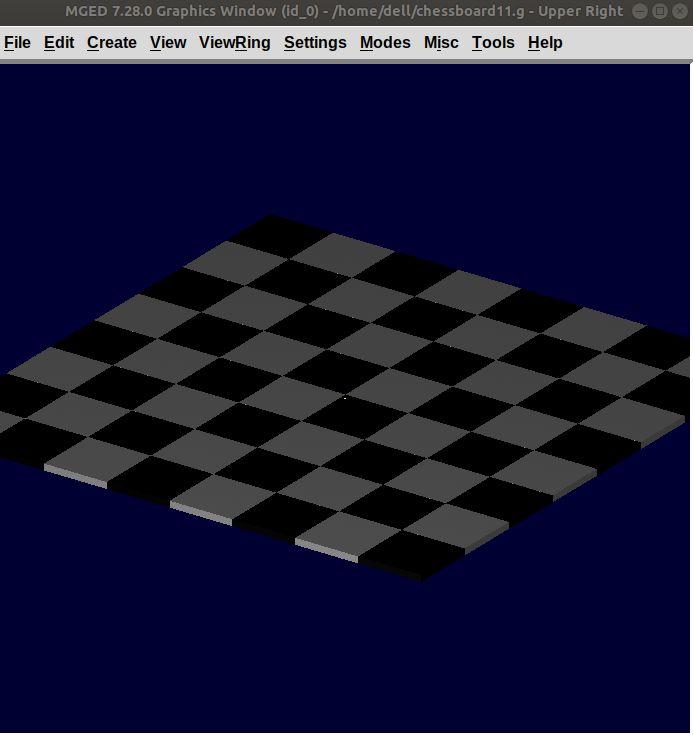
In this lesson, we are going to model the chessboard. Given below is our target design:

Create a new database name chess.g
opendb chess.g ENTER
2. Assigning a title to your database
In the MGED command window, type title followed by the title of
your database justifying what you are making. Press Enter at the
end.
mged> title Chess ENTER
3. Creating a single tile for the chessboard
Before beginning, make sure that MGED Command Window is active (by clicking anywhere in the window). Then type in the command:
in tile.s1 rpp 0 1 0 1 -0.1 0
4. Making a region of the tile
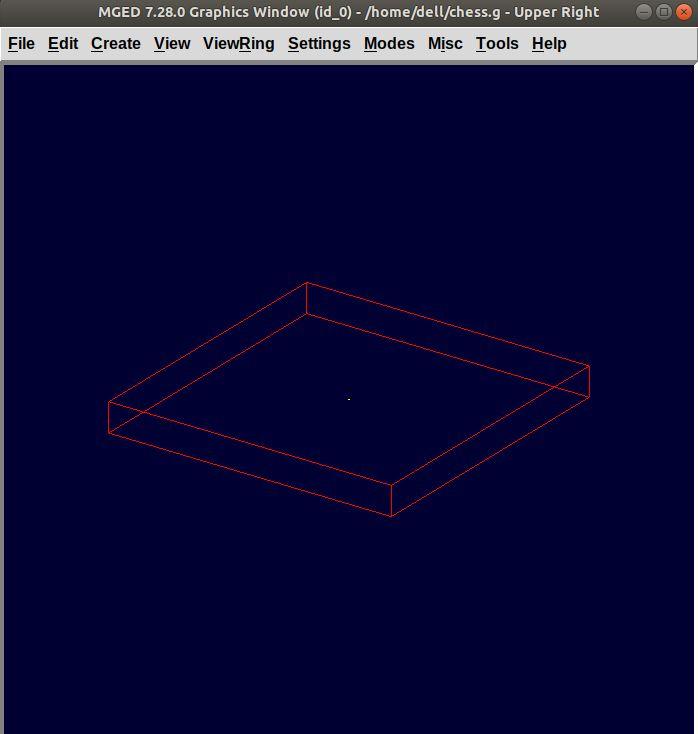
Type in the MGED prompt:
r tile.r1 u tile.s1
This command makes a region with the name tile.r1
5. Understanding the clone command
Let’s understand the clone command first. This command is used to do deep copying in MGED. The syntax for this command is:
clone [-abhimnprtv] <object>
Here each one of the [-abhimnprtv] have a specific
meaning to it. Let’s better understand this command using examples.
Create a demo database by typing mged demo.g in the command
prompt. Then, create a sphere using the in command as follows:
in tile.s1 rpp 0 1 0 1 -0.1 0 ENTER
Option -a <n> <x> <y> <z> specifies the translation split
dimensions between n clones. Type,
clone -a 2 0 0 3 tile. ENTER
MGED will show this:
tile.s101 {tile.s101 tile.s201}
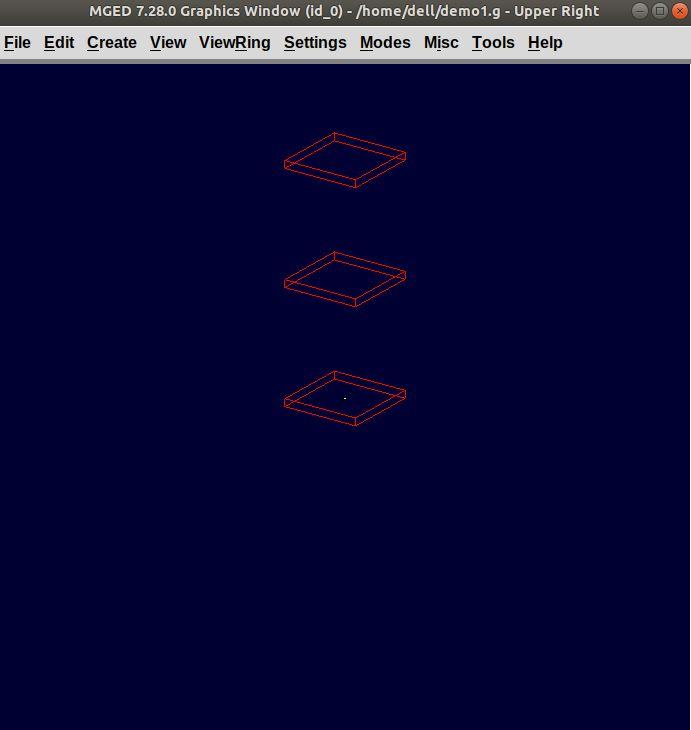
This means, you have got two clones separated by distance 3 units on the z-axis. To visually verify it, type:
draw tile.s101 tile.s2 ENTER
Option -b <n> <x> <y> <z> specifies a rotation around the
x, y and z axes split between n copies.
Example: Type Z on the MGED command prompt to clear the
graphic window.
Then type,
mged> draw tile.s1
mged> clone -b 2 0 180 0 tile.s1
tile.s301 {tile.301 tile.401}
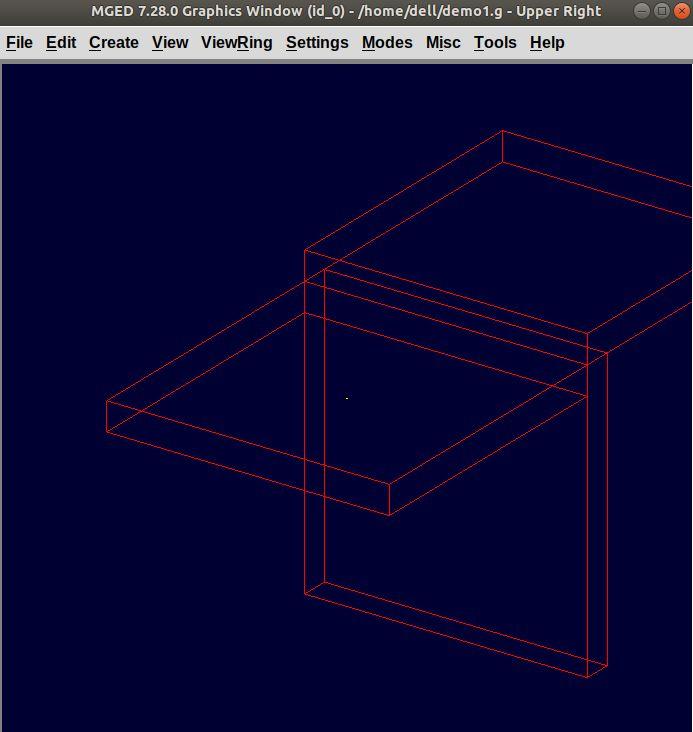
You see that the cloned tiles are separated from each other by an angle of 180 along the y axis.
-
-c— Increment the second number in object names. -
-f— Don’t draw the new object. -
-g— Don’t resize the view after drawing new objects. -
-h— Prints the message. -
-i <n>— Specifies the increment between each copy. -
-m <axis> <pos>— Specifies the axis and point to mirror the group. -
-n <# copies>— Specifies the copies you make. -
-p <x> <y> <z>— Specifies point to rotate around for-r. Default is0 0 0. -
-r <x> <y> <z>— Specifies the rotation around x, y and z axes. It works same as-bwhen combined with-n. -
-t <x> <y> <z>— Specifies the translation between each copy. It works same as-awhen combined withn. -
-v— Prints version info.
6. Cloning the tile for three other tiles
Coming back to our chessboard, let’s clone the tile we made earlier. Now, type:
clone -t 2 0 0 -i 1 -n 3 tile.r1 ENTER
MGED will respond with:
tile.r2 {tile.s2 tile.s3 tile.s4 tile.r2 tile.r3 tile.r4}
This command translates the first clone tile.r2 at x:2 y:0 z:0
(leaving a gap of 1 unit) and then increments it value by 1 for the
next clone. -n 3 specifies that it creates three clones
(tile.r2 tile.r3 tile.r4)
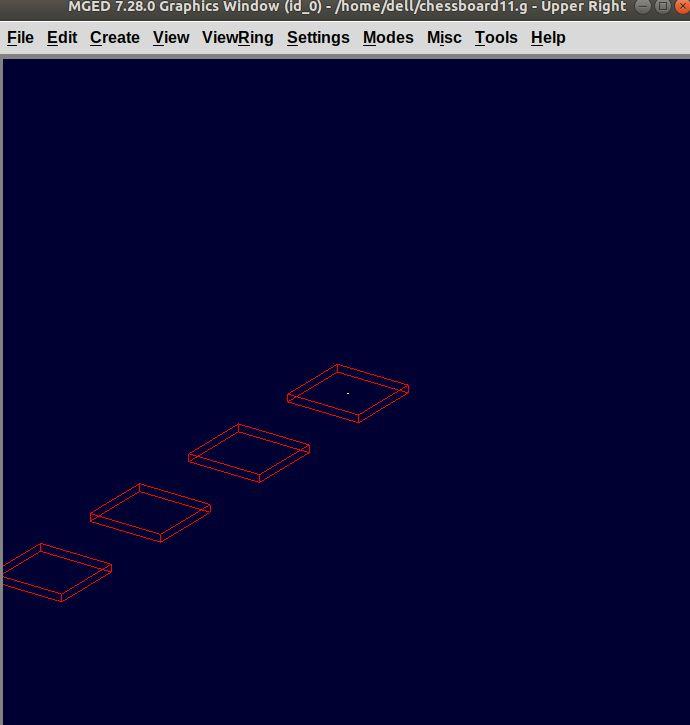
This command successfully creates single colored tiles of a row. Till now, you can only see one tile in the graphics window, to see all the clone, type:
draw tile.r2 tile.r3 tile.r4 ENTER
Left click on the graphic window for all the tiles to fit in the graphics window.
7. Grouping the tiles in a row
Let’s group these tiles in one row:
g row.g1 tile.r1 tile.r2 tile.r3 tile.r4 ENTER
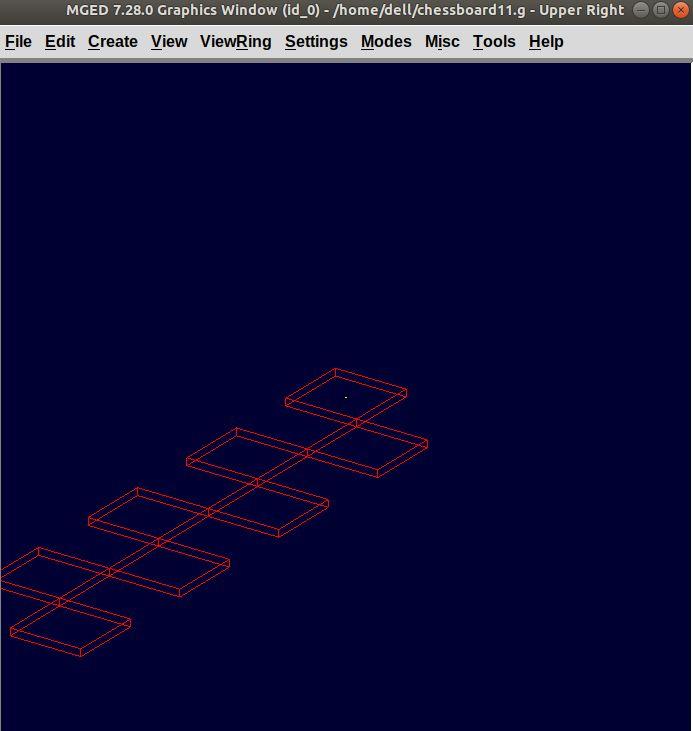
8. Creating an alternate row by cloning
To get the tiles in alternate position as present in the above
screenshot, we will clone this row and translate it to x:1 y:1 z:0,
as shown below:
clone -t 1 1 0 -i 1 row.g1 ENTER
MGED will respond with:
row.g2 {tile.s5 tile.r5 tile.s6 tile.r6 tile.s7 tile.r7
tile.s8 tile.r8 row.g2}
Type draw row.g2 ENTER in the command prompt to view the
row.g2:
There are total 8 rows in a chess board, so we will have 3 clones each
of row.g1 and row.g2
9. Making the remaining rows
Now, we will be translating along the y axis, therefore the command will be:
clone -t 0 2 0 -i 1 -n 3 row.g1 ENTER
And for row.g2
clone -t 0 2 0 -i 1 -n 3 row.g2 ENTER
You will get row.g3 , row.g4 , row.g5 clones of row.g1 and
clones row.g6 , row.g7 , row.g8 of row.g2.
You can view these rows by using the draw command:
draw row.g3 row.g4 row.g5 row.g6 row.g7 row.g8 ENTER
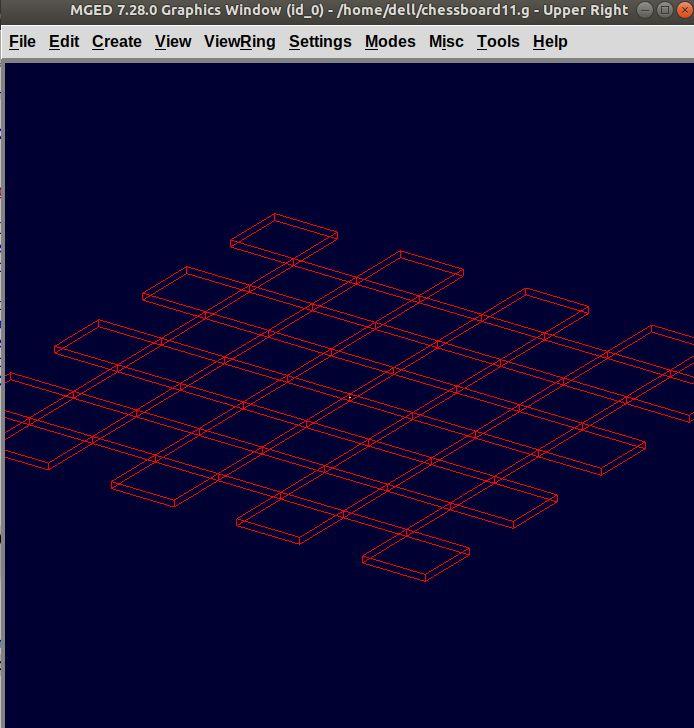
You see that here we only have alternate tiles i.e., tiles of one
color. Let’s group them together under one name black.g as shown
below:
g black.g row.g1 row.g2 row.g3 row.g4 row.g5 row.g6 row.g7
row.g8
ENTER
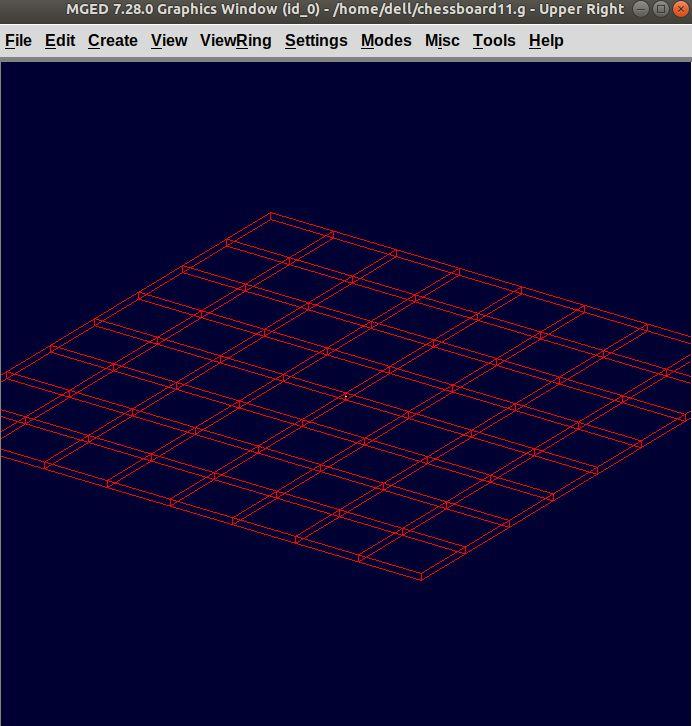
Now, in order to make the white tiles we will clone the group of black
tiles black.g , as shown below:
clone -r 0 0 90 -p 4 4 0 black.g ENTER
We will get a clone with the name black.g2. We can change the name
of this group to white.g using the mv command.
mv black.g2 white.g ENTER
Now, let’s have a look at the rest of our slides by typing draw
white.g
10. Giving colors to our tiles
In this section we will color our tiles using the comb_color command
which means combination color i.e. color of the whole
combination/group. The syntax to use this command is:
comb_color combination R G B
Where combination is the name of the combination we want to color.
R, G and B are the red, green and blue values respectively.
To color the black tiles:
comb_color black.g 0 0 0 ENTER
To color the white tiles:
comb_color white.g 255 255 255 ENTER
Now combine these black and white tiles to form a board.
g board.g black.g white.g ENTER
And then comes the final part, which is to raytrace our chessboard. Before we raytrace, move the mouse pointer to the Command Prompt and type at the prompt:
B board.g ENTER
This command clears the screen and redraws the board with the specified colors.
11. Raytracing the Board
Go to the File menu and select Raytrace. The Raytrace Control Panel opens. To have a lighter background, click on the dropdown button on the right of Background Color. Click on Raytrace to start the raytracing process.
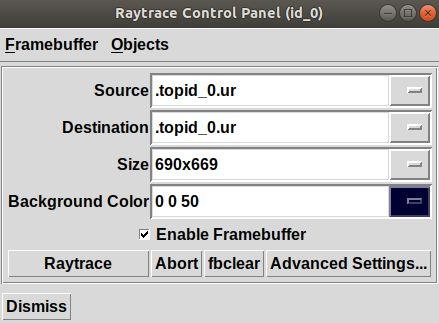
While it is raytracing, click on the Framebuffer options in the Raytrace Control Panel Menu Bar and click on Overlay.
After the raytracing process is completed, you get a board, as shown below: