11. Refining a Mug Model
In this lesson, you will:
-
Assign material properties to the mug using the mater command.
-
Refine the mug.
-
Combine the shapes.
In this lesson, you will refine the mug you made in the previous lesson. If you stopped at the end of that lesson, open the database mug.g before continuing.
1. Assigning Material Properties to the Mug Using the mater Command
Assigning material properties to a region can be done with either the mater or shader command. The program will respond with a series of questions. These concern the various parameters of the shader you select to use in rendering the object.
The most commonly used shader is the plastic shader, which uses a Phong lighting model. Select the plastic shader and set the color to a medium shade of green. The dialog in the Command Window should appear as follows:
mged> mater mug.r Enter
   Current shader string =
   Specify shader.  Enclose spaces within quotes.  E.g., "light invisible=1"
   Shader? ('del' to delete, '.' to skip) plastic Enter
   Current color = (No color specified)
   R, G, B color values (0 to 255)? ('del' to delete, '.' to skip) 32 128 32 Enter
   Current inheritance = 0: lower nodes (towards leaves) override
   Should this object's shader override lower nodes? ('.' to skip) 0 Enter
Enter the appropriate information that is shown in bold font. If you want to use the streamlined version, type:
mater mug.r plastic 32 128 32 0 Enter
Diagrammed, this command says:
| mater | mug.r | plastic | 32 128 32 | 0 |
|---|---|---|---|---|
Assign material properties to a region |
Called mug.r |
Make the material plastic |
Color the mug green |
Turn inheritance off* |
|
Inheritance is an advanced topic beyond the scope of the present discussion. |
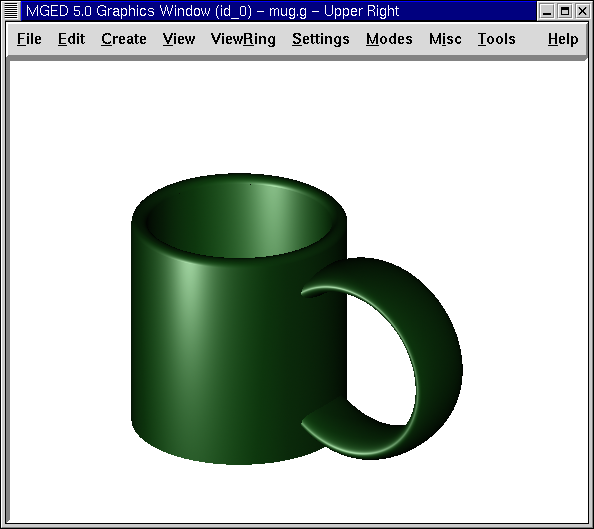
2. Raytracing the Mug
Open the Raytrace Control Panel and select Raytrace. You should get an image of a green mug on a dark background (we use a white background here to save printing ink). If your mug is not green, you probably need to redraw your wireframe before raytracing.
3. Refining the Mug
Now let’s improve the cup. Notice that the lip of the cup looks a little too squared off. To fix this, you will need to add a rounded top to the lip. You can do this by positioning a circular torus shape exactly at the top of the cup. Then you can add it to the combination body.c.
At the MGED prompt, type:
in rim.s tor 0 0 3.5 0 0 1 1.625 0.125 Enter
| in | rim.s | tor | 0 0 3.5 | 0 0 1 | 1.625 | 0.125 |
|---|---|---|---|---|---|---|
Make a shape |
Call it rim.s |
Make the shape a torus |
With x, y, and z vertices of 0, 0, and 3.5 |
With x, y, and z of normal vector being 0, 0, and 1 |
Radius 1 is 1.625 inches and |
Radius 2 is 0.125 inches |
4. Combining the Shapes
To combine the torus with the cup, you will need to type at the prompt:
comb body.c u rim.s Enter
Now you are faced with a unique situation. The shape rim.s was added to the list of objects being displayed when it was created. However, now it is also a part of mug.r (via body.c). If you raytrace the current view, you will have two copies of this shape. The raytracer will complain that they overlap.
One way to fix this is to clear the display, redisplay the new, complete object, and then raytrace. As discussed previously, the fbclear command in the Raytrace Control Panel clears the framebuffer display, and the Z command in the Command Window clears all wireframed objects. You can redisplay the objects you want to raytrace with the draw command. Type at the prompt:
Z Enter
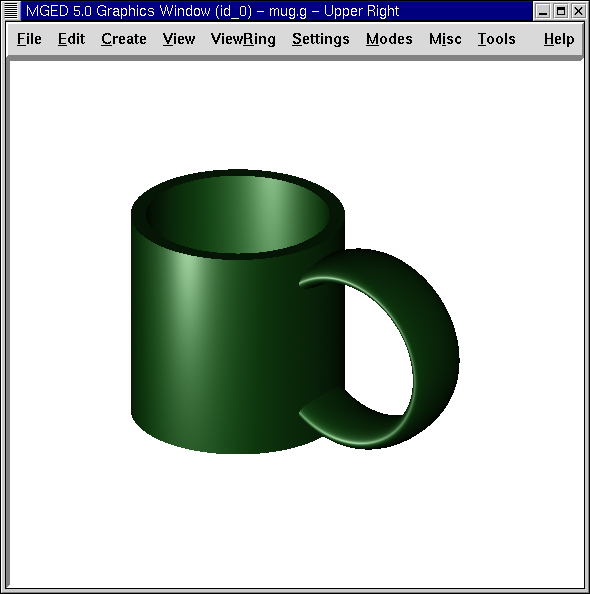
draw mug.r Enter
Raytrace your mug. It should now look similar to the following.